Menu
TUCKER BBQS
The R Class - Premium RangeThe GTR Series - High PerformanceThe GTS Series - Enhanced EssentialsThe GT Series - Entry RangeThe 316 Horizon - Marine Grade Drop InThe Charcoal Deluxe BBQThe Friar Tuck - All Stainless PlateTucker Charcoal SpitsTucker Wood Fired Pizza OvenTucker Hibachi GrillTucker Wok BurnersTucker Hybrid SeriesTucker Flame Failure BBQsTucker Marine Grade BBQsAll Tucker BBQs
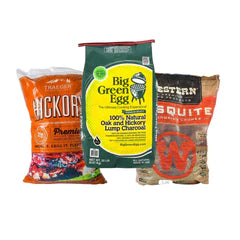
CHARCOAL BBQ ESSENTIALS
SMOKING ESSENTIALS
PIZZA ESSENTIALS
BBQ CLEANING
DESIGN YOUR KITCHEN
OTHER APPLIANCES
ADD ONS


Explore Tucker
All
All
All
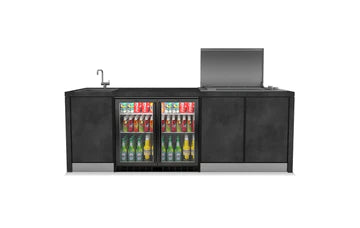
Outdoor Kitchens
All Accessories
-
Explore Tucker
-
Showrooms
-
AllBuilt-In BBQsFree Standing BBQsMarine-Grade BBQsPortable BBQsHibachi BBQsSide Burners and CookersSpitsOutdoor Dining SettingsOutdoor Lounge SettingsOutdoor Modular LoungesOutdoor Sun loungesOutdoor DaybedsOutdoor ChairsOutdoor TablesAll
-
BBQs
- The R Class - Premium Range
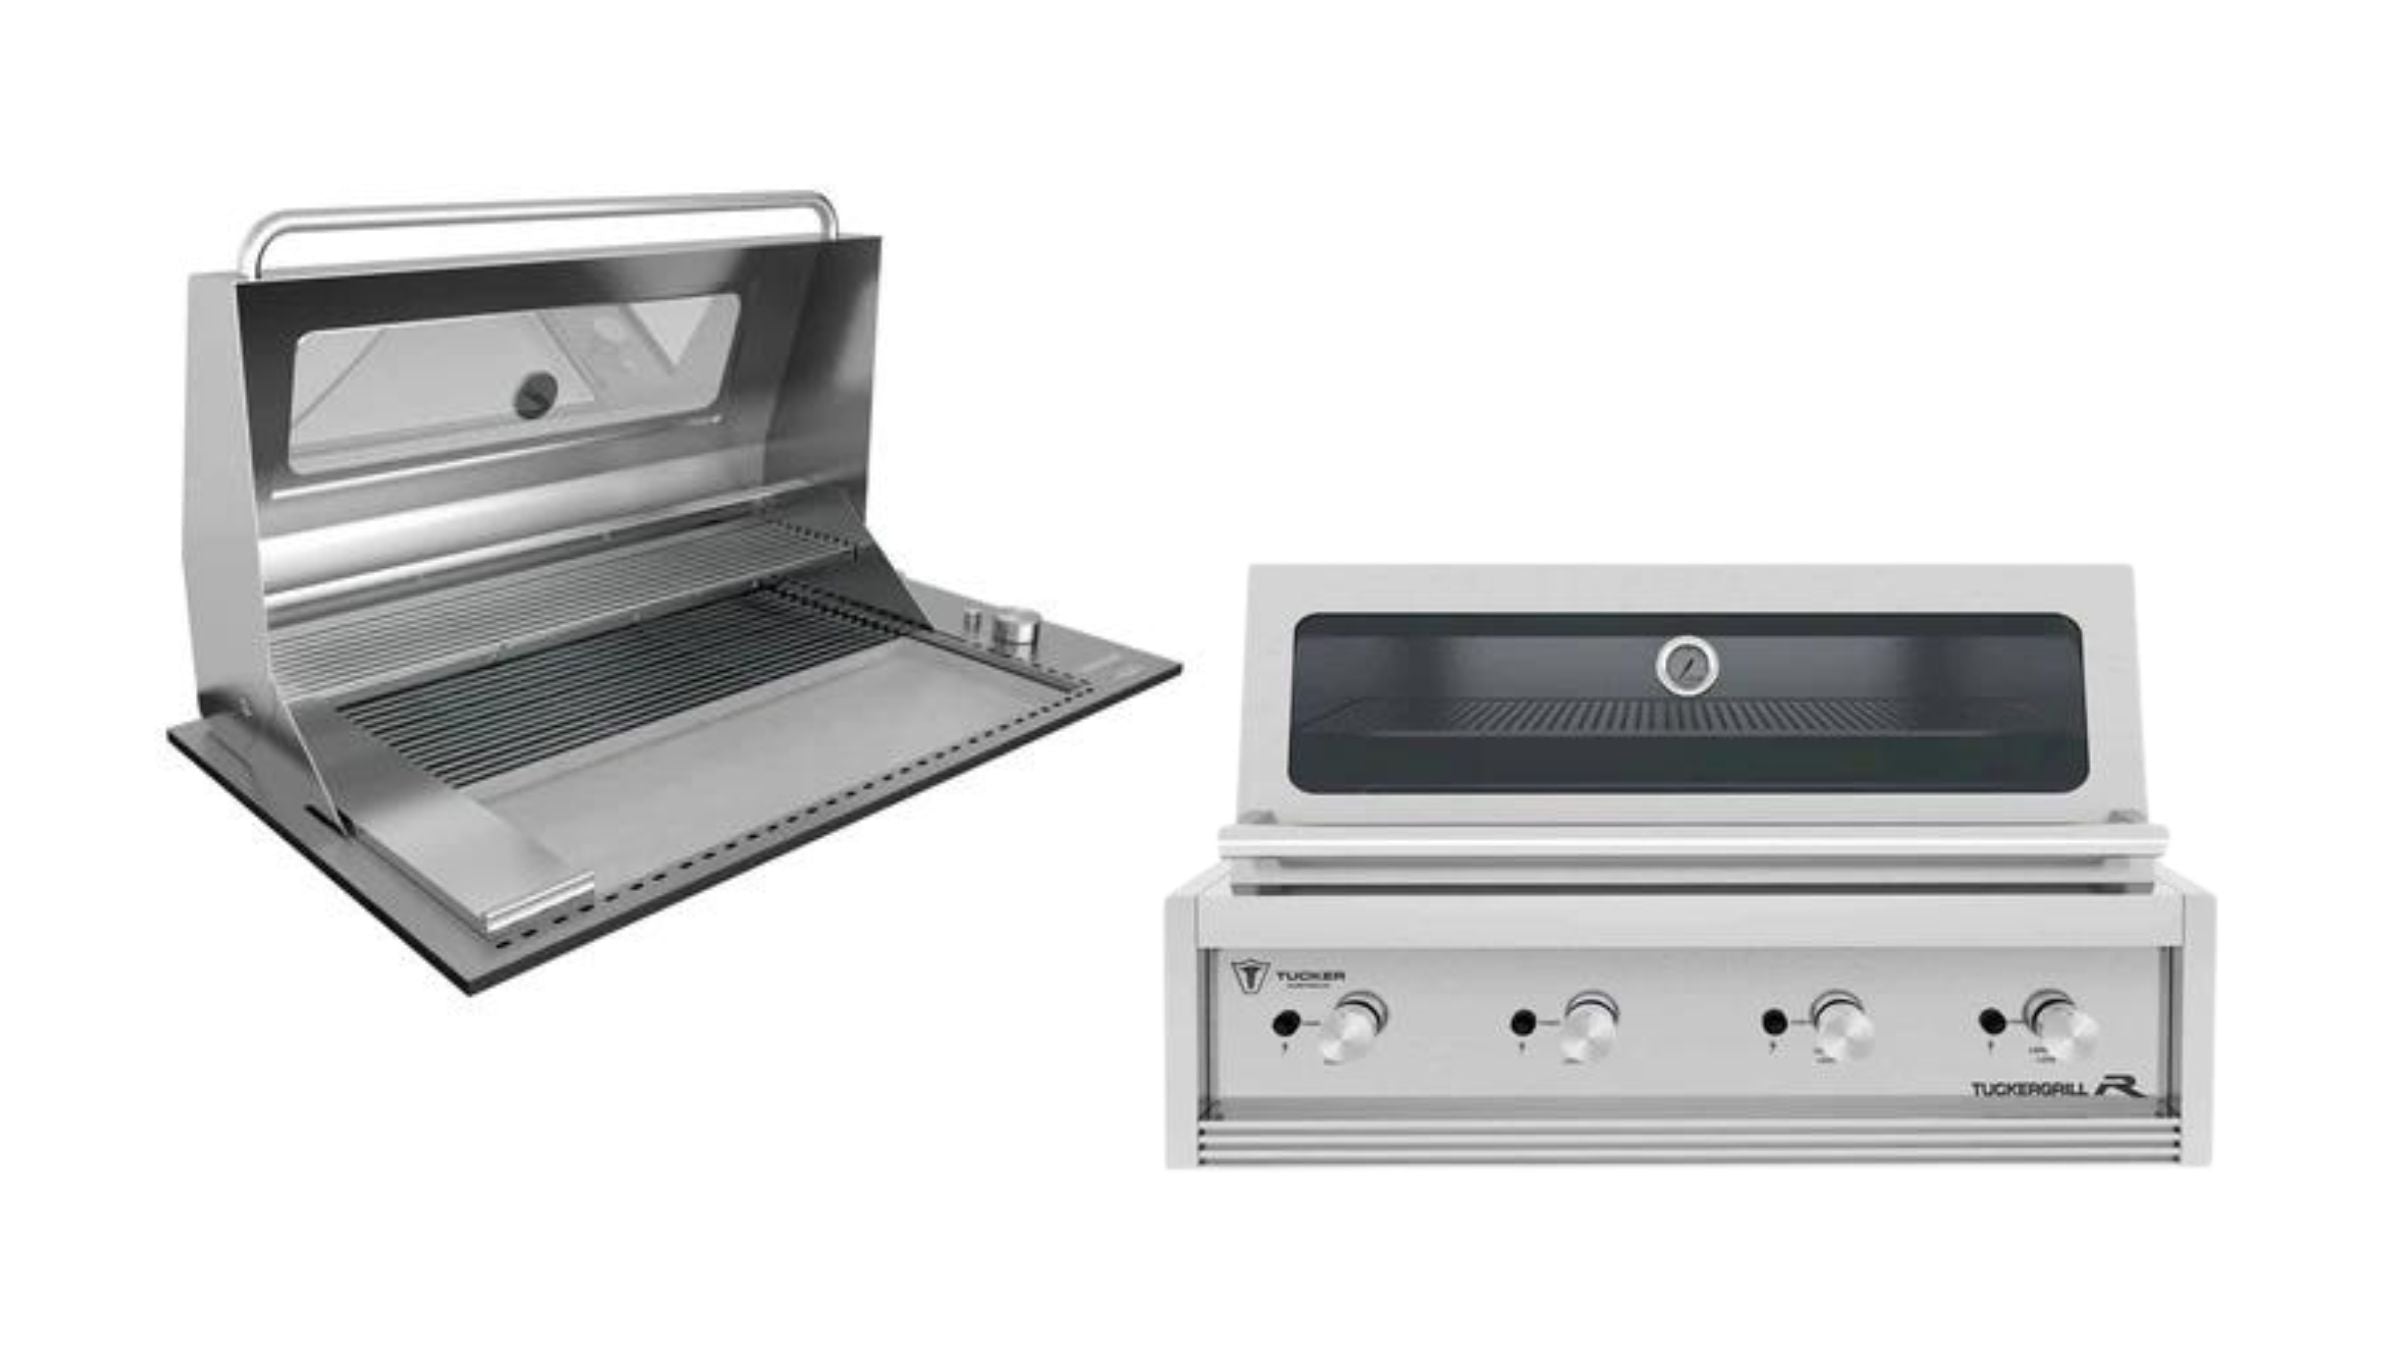
- The GTR Series - High Performance
- The GTS Series - Enhanced Essentials
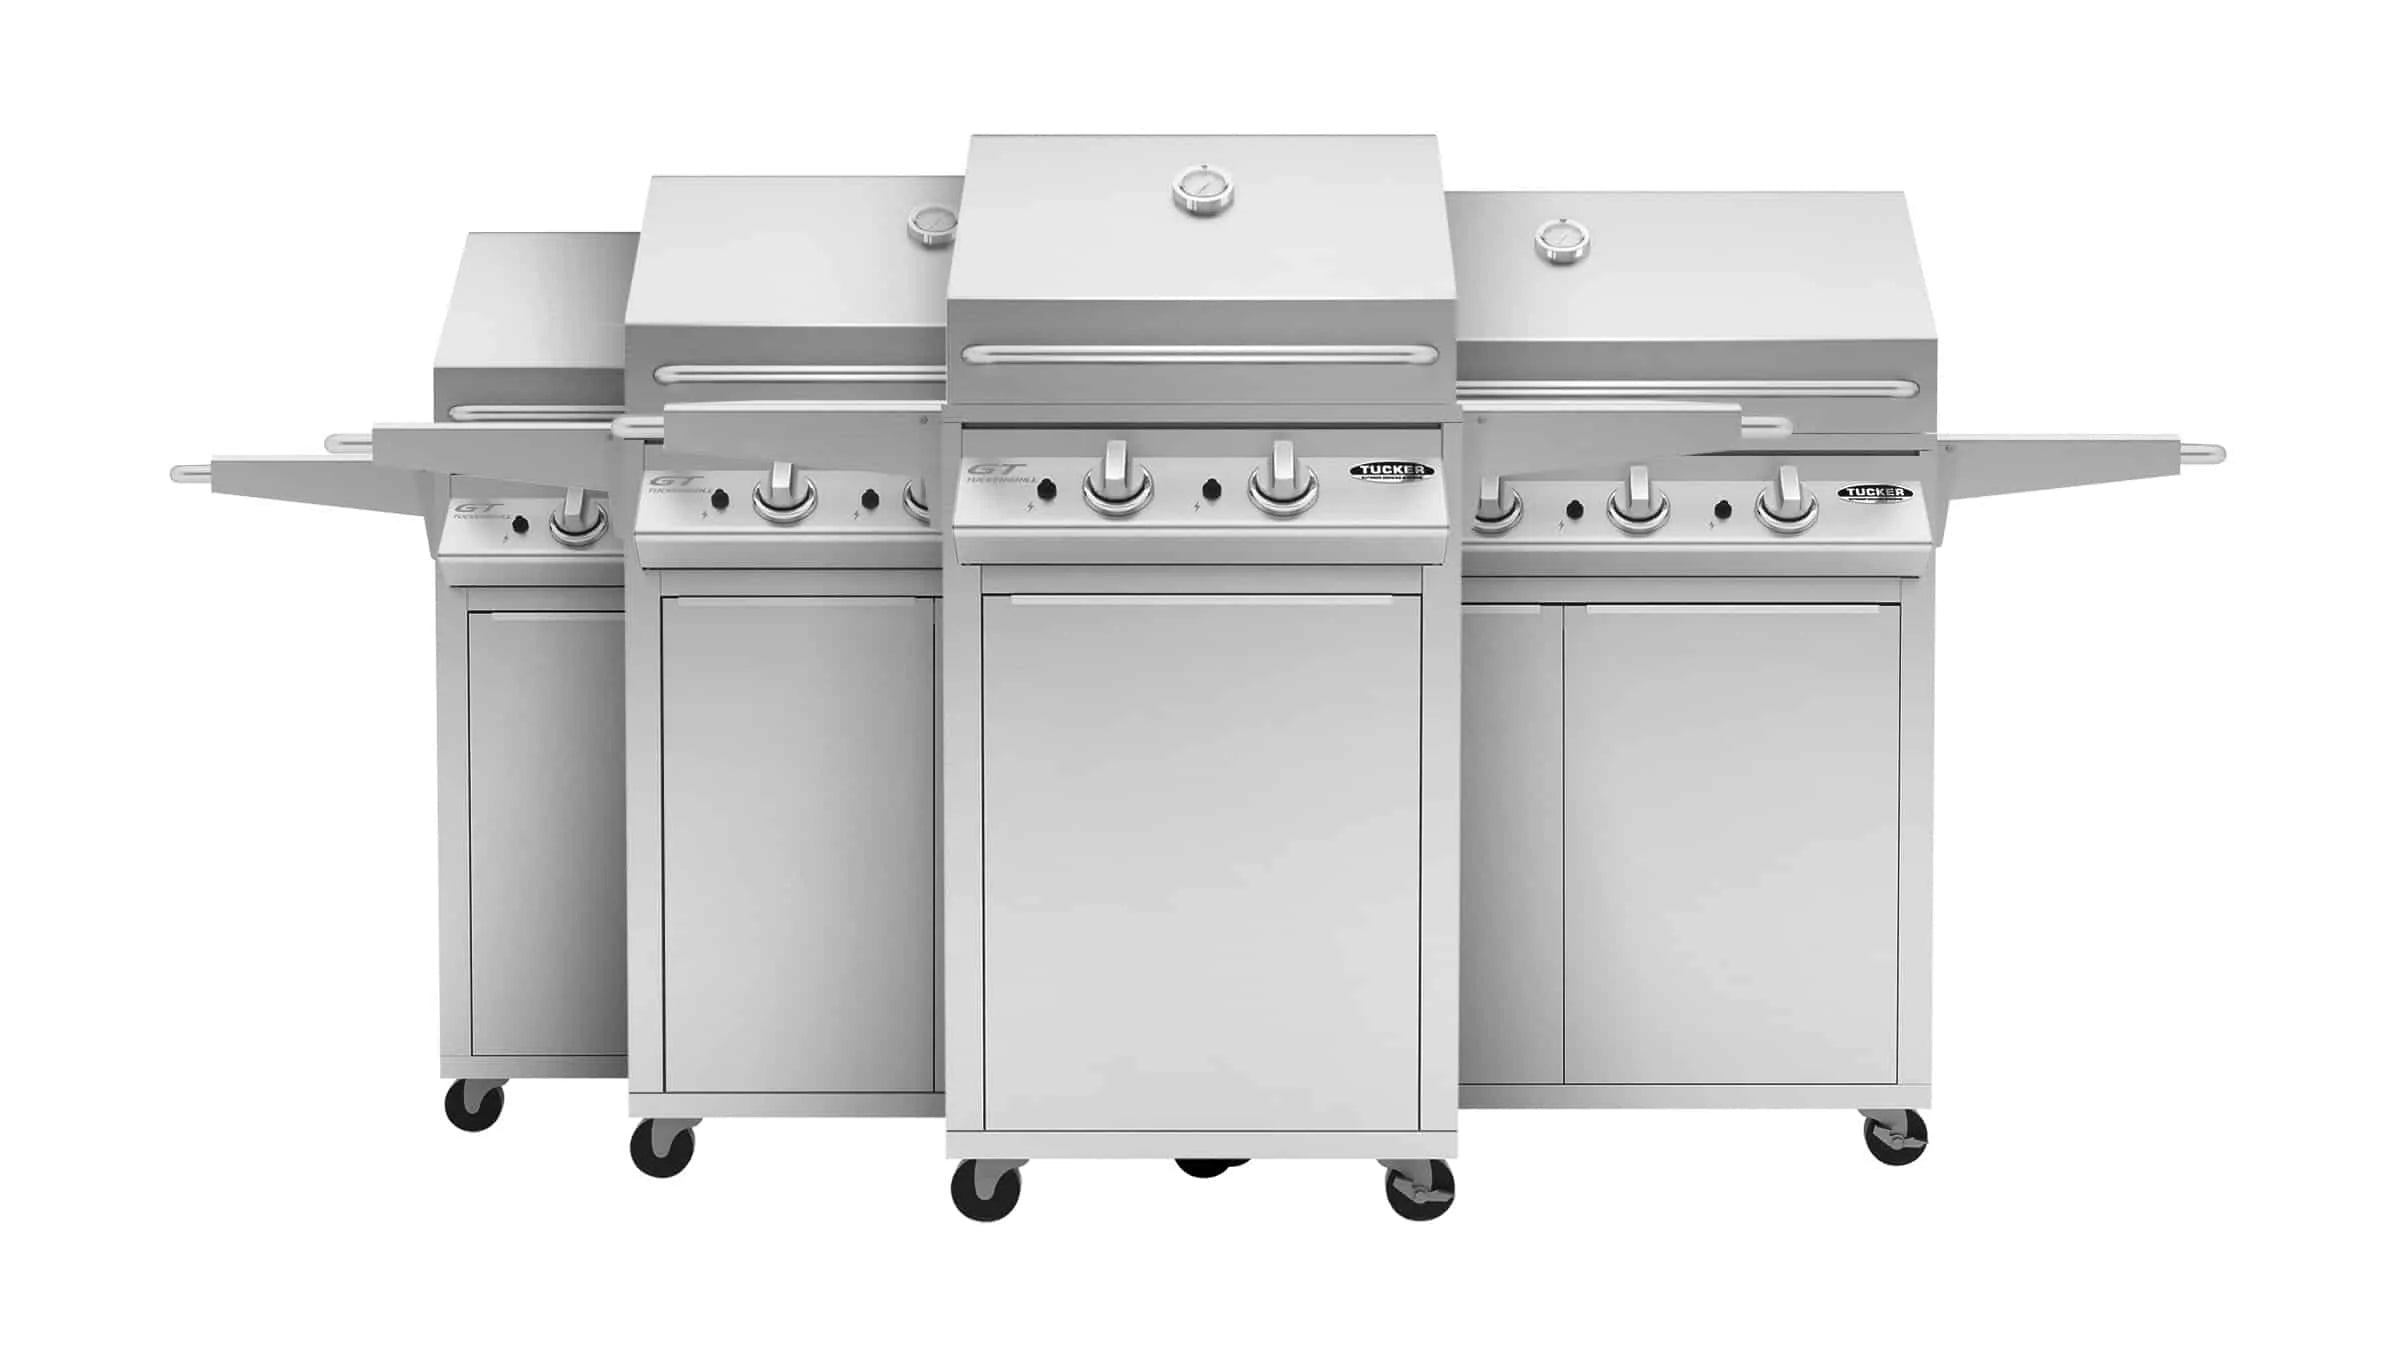
- The GT Series - Entry Range
- The 316 Horizon - Marine Grade Drop In
- The Charcoal Deluxe BBQ
- The Friar Tuck - All Stainless Plate
- Tucker Charcoal Spits
- Tucker Wood Fired Pizza Oven
- Tucker Hibachi Grill
- Tucker Wok Burners
- Tucker Hybrid Series
- Tucker Flame Failure BBQs
- Tucker Marine Grade BBQs
- All Tucker BBQs
-
Accessories
-
Outdoor Kitchens
-
Outdoor Living
-
Heating
-
Clearance Stock Sale

