Master the Roast: Cracking the Art of Low-and-Slow BBQ Roasting

Master the Roast: Cracking the Art of Low-and-Slow BBQ Roasting

Tucker BBQ Masterclass • 6 min read

Barbecue grill with roasted meat

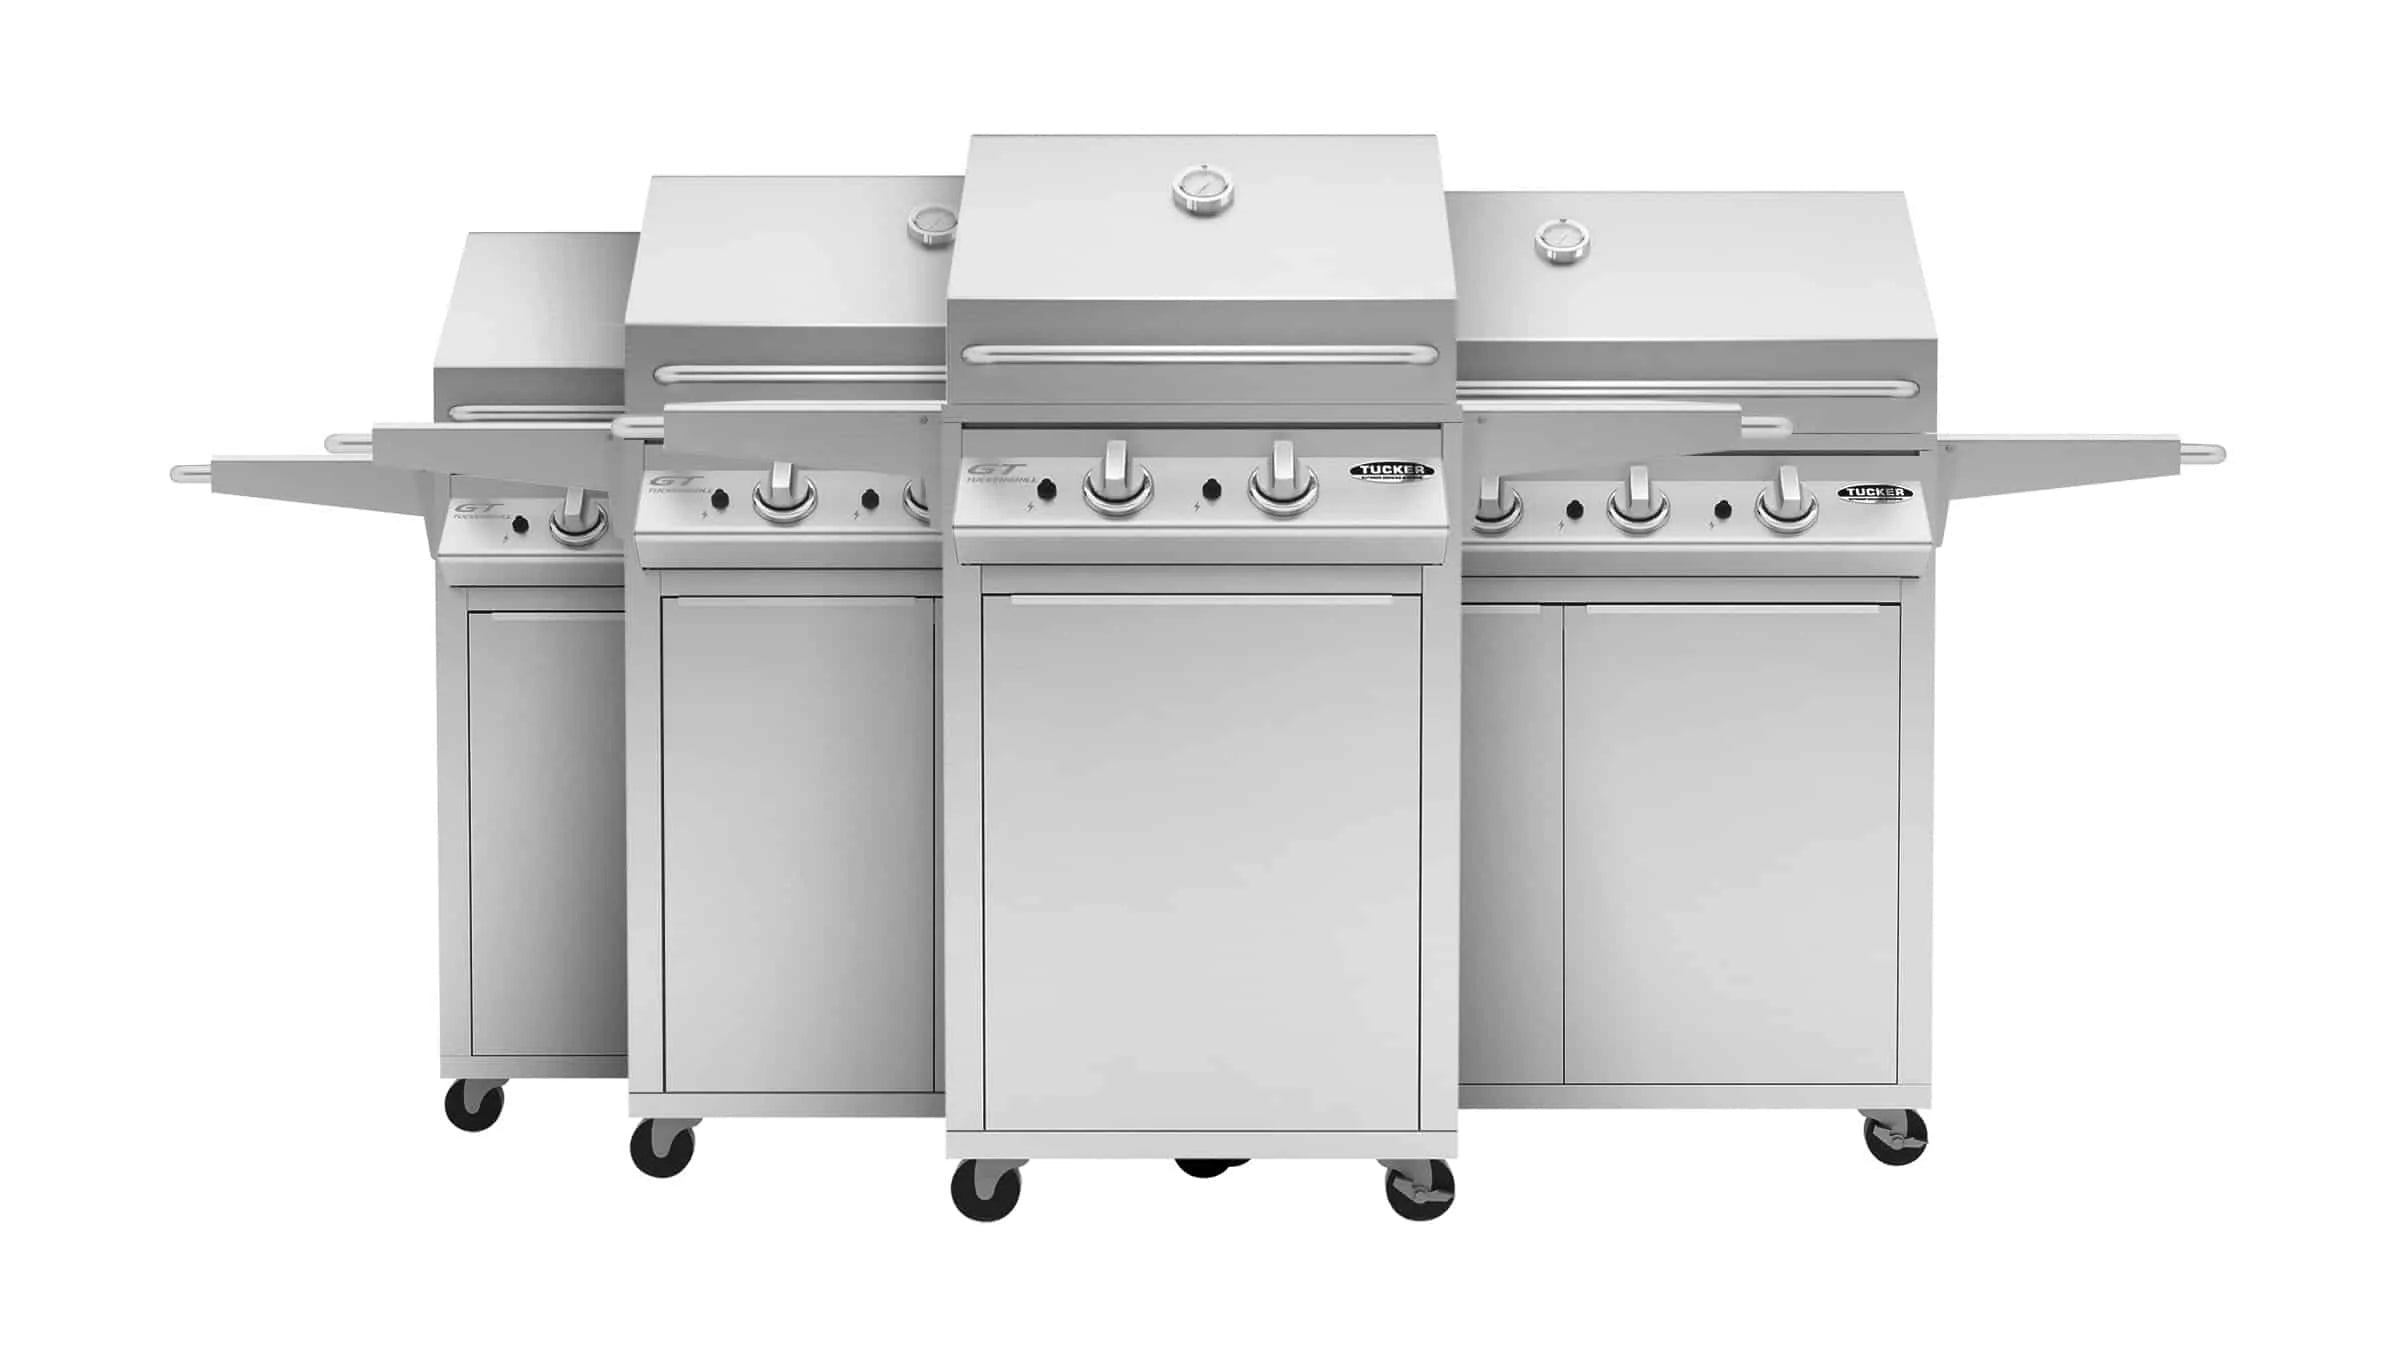
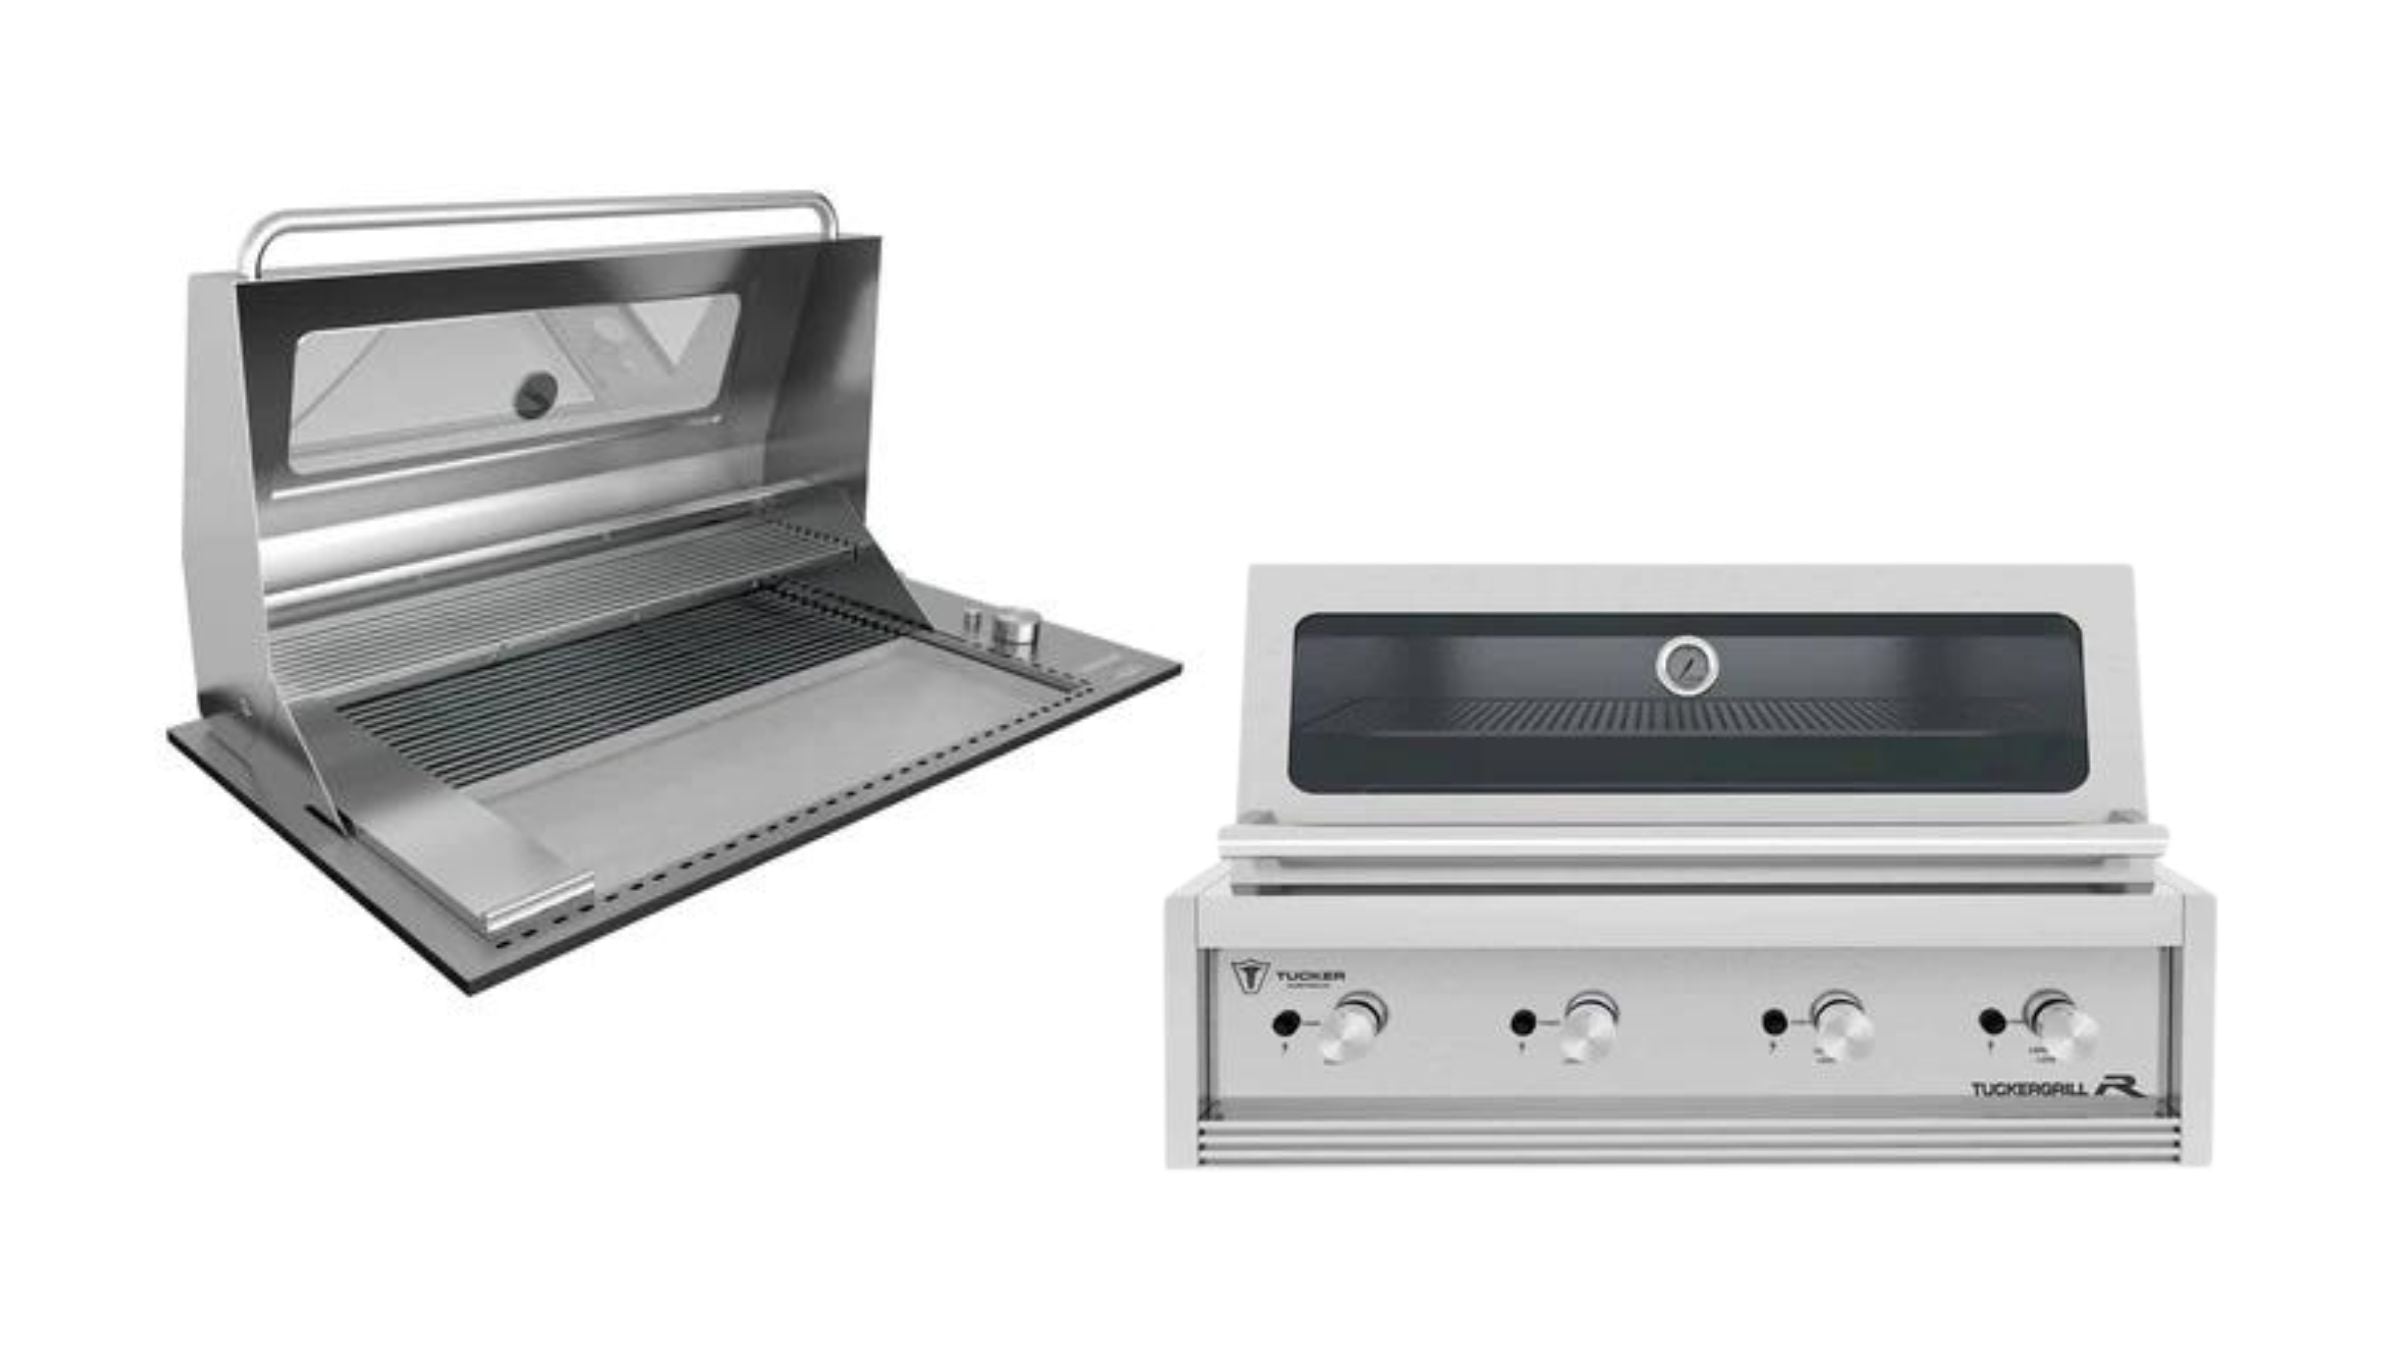
There is something hypnotic about firing up a Tucker BBQ on a clear afternoon. The heavy stainless-steel hood glides down, trapping in a wall of convection heat, while the subtle aroma of rendered fat and toasted spices drifts through the garden. While most backyard cooks rely on their barbecue for quick-sear steaks and weekend bangers, the real magic happens when you harness indirect heat for a slow, golden roast.

Whether you are tackling a thick rack of lamb, a whole bird, or a traditional Bavarian pork knuckle, mastering the roast on a high-grade setup comes down to temperature control, airflow, and patience.

Setting Up Your Tucker for Indirect Heat

Unlike indoor kitchen ovens, a gas barbecue relies on directional heat. To transform your grill into an outdoor convection oven, you need to create two distinct zones: an active heat source and a safe roast zone.

Roast meat cooking on grill Positioning meat over indirect heat zones prevents flare-ups while building a rich mahogany crust.
  • The Two-Zone Setup: Turn on your outer burners (left and right) to medium-low, while leaving the middle burners entirely off. This forces heat to rise along the hood's curved ceiling and circulate downward over the meat rather than searing it directly from below.
  • Taming the Flare-ups: Place a heavy-duty roasting tin directly over the cold centre burners to catch dripping fats. Add a splash of stock, beer, or cider to the tin—this prevents fat from burning and keeps the surrounding air humid, ensuring the meat doesn't dry out.
  • Dialling in the Hood Temp: Keep the hood thermometer hovering between 160°C and 180°C. A Tucker's insulated double-skin hood holds heat remarkably well, so small burner adjustments go a long way.

3 Rules for Next-Level Crackling & Crusts

Achieving that glass-like blistered crackling on pork or a golden, herb-crusted skin on chicken requires deliberate prep before the meat ever touches the grates.

  1. Dry Skin Is King: Moisture is the absolute enemy of crispness. Pat your roast down with kitchen paper and leave it uncovered on a wire rack in the fridge overnight. The cold, dry air draws out surface moisture.
  2. The Oil and Salt Seal: Rub a lightweight high-smoke-point oil (like rapeseed or grapeseed oil) across the skin to conduct heat evenly, then coat generously with coarse sea salt. The salt draws out residual moisture and expands under high heat to create bubbles.
  3. The Final Heat Blast: If your roast needs a final push for crackling, crank the outer burners for the last 15 to 20 minutes. Watch closely—the shift from golden-crisp to charred happens fast.

Know Your Target Internal Temperatures

Skip the guess-and-check method. A digital meat probe inserted into the thickest part of the meat (away from the bone) ensures perfect results every time.

Cut Target Pull Temp Rest Time Final Result
Pork Knuckle / Shoulder 88°C – 92°C 15–20 mins Tender meat, blistered crackling
Beef Roast (Ribeye / Rump) 54°C – 57°C 10–15 mins Juicy medium-rare
Whole Chicken 74°C (at thigh) 10 mins Crisp skin, moist flesh
Leg of Lamb 60°C – 63°C 15 mins Succulent medium-pink

The Golden Finish: Resting Matters

Slicing a roasted beef joint

When you lift the hood and pull a roast off the barbecue, the outer muscle fibres are tense and contracted from the heat. Cutting into it immediately causes all those valuable juices to spill across the board.

Transfer your roast to a warm carving tray, tent it loosely with aluminium foil (leave a gap so steam doesn't soften your crackling), and let it sit for at least 15 minutes. As the internal temperature stabilises, the muscle fibres relax and reabsorb the juices—leaving every slice tender, succulent, and flavour-packed.

Ready to Elevate Your Outdoor Cooking?

Explore our full range of Tucker BBQs, roasting accessories, and digital probes.

Shop Tucker BBQ Range